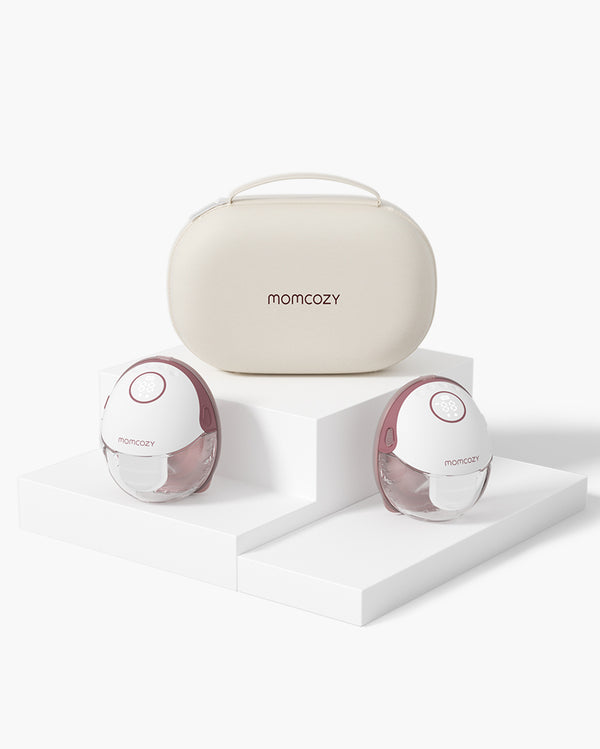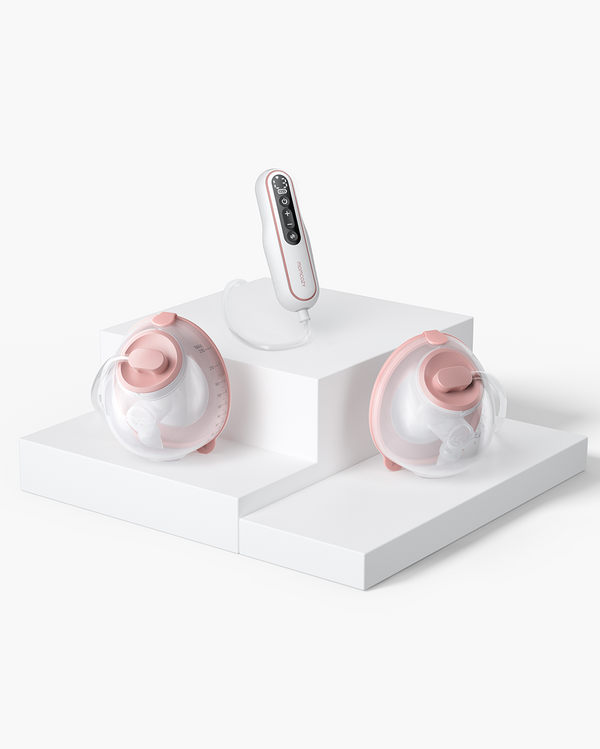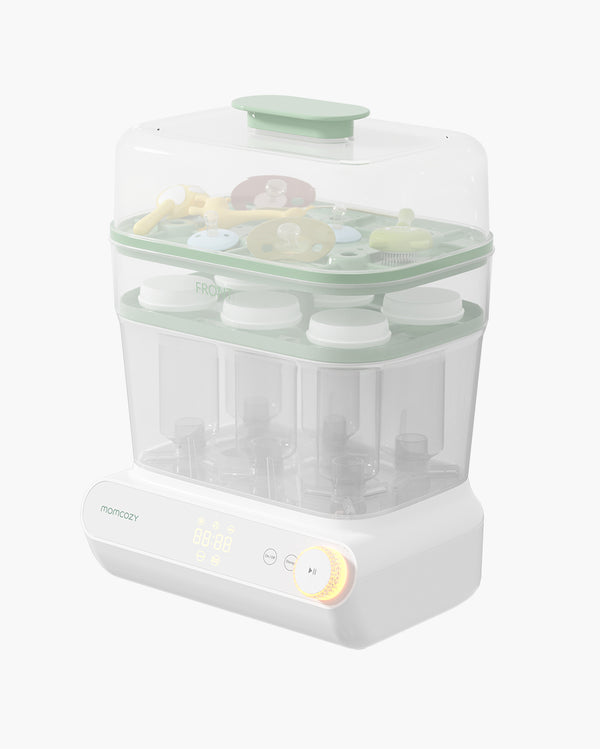
There is no universal UV-or-steam winner for silicone pump cups or suction rings over 12 months. The safe choice is the sanitizing method approved for your specific pump parts and sanitizing device. Available guidance does not specify how daily UV or steam cycles affect each silicone formulation, cup shape, seal, or pump model over the course of a year.
Treat a declining seal as a maintenance issue rather than as proof that a sanitizing method caused damage. Clean milk-contact parts first, use only approved sanitizing methods, dry parts thoroughly, and act if a component no longer seats, seals, or performs as expected.
Start with Your Pump Manual, Not the Material Label
“Silicone” does not automatically mean a pump cup, flange, diaphragm, valve, or suction ring is suitable for UV, steam, boiling, or a dishwasher. The manufacturer’s instructions determine which components can be washed and how they should be cleaned. FDA breast-pump cleaning guidance also advises checking the manual to identify washable parts and the recommended cleaning method.
Before using a UV or steam device, identify each removable milk-contact part and check:
- Whether the part is approved for the specific method.
- Whether the instructions set a temperature, cycle, or handling limit.
- Whether the approval applies to all removable parts or only selected pieces.
- Whether the sterilizer’s own instructions allow that component and its shape.
Your pump’s care instructions show why this matters. Some pump instructions prohibit UV sterilizers for their listed milk-contact parts, but permit boiling washable parts for a limited time, while warning that excessive heat can shorten service life. That is specific guidance—not evidence that another silicone pump cup or seal should be boiled, steamed, or kept out of UV.
What This Means for Steam Devices
Do not assume that a steam cycle is interchangeable with a permitted boiling method. A pump manual may approve one method, limit temperatures, or provide handling instructions that do not align with a particular countertop steam device.
Likewise, do not assume a UV device is acceptable because another pump brand allows it. Compatibility depends on the component and its manufacturer’s instructions.
Clean After Every Use; Sanitize When Appropriate
Cleaning and sanitizing are separate steps. Milk-contact pump parts should be cleaned after every use. Sanitizing is an additional germ-reduction step; parts should be cleaned before sanitizing.
The CDC advises sanitizing pump parts at least once daily for extra protection, especially when a baby is younger than 2 months, was born prematurely, or has a weakened immune system. For older, healthy babies, daily sanitizing may not be necessary when parts are carefully cleaned after every use. CDC pump-part cleaning and sanitizing guidance provides the broader hygiene framework.
This distinction matters for long-term part care. More sanitizing cycles are not automatically better for a particular silicone seal. Use the routine appropriate for your baby’s needs and follow any advice from your healthcare professional, while staying within the pump manufacturer’s approved care instructions.
- After each use: Disassemble and clean the milk-contact parts as directed.
- Before sanitizing: Make sure the parts are clean; sanitizing does not replace washing.
- When sanitizing is appropriate: Use only the approved method for that component.
- Before reassembly: Let all parts air-dry thoroughly.
What the 12-Month Question Can—and Cannot—Answer
There is no approved product-specific evidence here showing that daily UV use is more likely than daily steam use to weaken a particular silicone suction ring after 12 months. There is also no universal cycle count at which a cup will become soft, warped, sticky, cracked, hard, or unable to seal.
That uncertainty is important. A seal’s performance can depend on its shape, surface condition, dimensional fit, ability to recover after compression, and correct installation. These are general silicone-seal principles, not a laboratory finding about breast-pump cups exposed to UV or steam for one year.
In practical terms, a suction ring may look broadly intact but still deserve attention if it no longer sits evenly or performs the way it did when correctly assembled. Conversely, a pumping change does not prove that sanitizing damaged the part.
Check the Seal in Use, Not Just by Sight
During regular cleaning, inspect the silicone cup, suction ring, diaphragm, valve, and other sealing components before reassembly. Look for a changed shape, an uneven sealing edge, visible damage, or a part that no longer returns to its usual position or fits securely.

Then perform a simple function check during pumping:
- Reassemble the pump exactly as directed.
- Confirm that each silicone piece is fully seated and not twisted, folded, or trapped under another part.
- Notice whether the cup’s fit feels different from usual.
- Watch for apparent air leaks or a vacuum that feels weaker than expected.
- Check whether reseating and correct assembly restore normal operation.
A seal that is under-compressed may be more prone to leakage, while excessive compression can contribute to material fatigue in general seal applications. But neither possibility proves that your pump part is worn or that UV or steam caused the problem.
Lower milk output alone is not a reliable diagnosis of a failing silicone component. Pump setup, fit, pumping routine, and lactation factors can also affect collection. If output changes alongside poor fit, repeated air leaks, or a component that will not seat correctly, inspect the parts and follow your model’s troubleshooting guidance.
Protect Shape During Drying and Heat-Based Care
Drying is part of safe pump-part care. After cleaning or disinfection, allow parts to air-dry thoroughly in a clean area before storage or reassembly. Avoid using cloth towels to dry pump parts, since they can carry germs.
If your model permits boiling, follow its handling instructions closely. For some models, parts should not touch the sides of the pot because the instructions warn this can cause deformation. Remove parts with clean tools as directed and let them air-dry fully.
Avoid treating “washable” as permission for every form of heat exposure. A component may be washable but not UV-approved, dishwasher-approved, or suitable for temperatures above its stated limit.
Replace by Condition and Model Guidance
There is no universal replacement schedule for silicone pump cups, diaphragms, valves, or suction rings. The available documentation for some pump models does not provide a fixed replacement interval for those components, and other pump models may give different instructions.
Replacement or manufacturer support is appropriate when:
- A part has visible damage or lasting distortion.
- The sealing edge no longer sits evenly.
- The component repeatedly shifts, folds, or will not stay seated.
- Air leaks or a weaker vacuum persist after proper cleaning and reassembly.
- Your model’s manual identifies a replacement interval or troubleshooting step that applies.
Choose your routine with a simple path: identify the exact silicone part, check which sanitizing methods its manual approves, use the approved method you can perform consistently, and monitor the seal both visually and during pumping. If documented wear or performance changes are observed, replace the affected part or follow your model’s Momcozy manual, troubleshooting resources, support channel, or compatible parts information for the next step.