As a new parent, you want to keep your baby’s feeding gear as clean as possible, but knowing how to sterilize feeding bottle the right way isn’t always obvious. Bottles, nipples, and caps can hold onto milk residue, and young babies are more vulnerable to germs. This guide explains why sterilizing matters, walks you through five methods, and shows how often to do it so you can build a routine that fits your day.
Why Do You Need to Sterilize Baby Bottles?
Are sterilizing bottles necessary? Absolutely, and here's why:
Elimination of Harmful Bacteria
Sterilizing baby bottles is really important to remove harmful bacteria, viruses, and fungi that can remain in leftover milk. Babies are more prone to infections since their immune systems are still developing. The Centers for Disease Control and Prevention (CDC) emphasizes the importance of keeping all bottle-feeding supplies clean, including bottles, nipples, rings, caps, and any valves or membranes.
Prevention of Formula Spoilage
Milk and formula can go bad very quickly if it is not properly looked after, which can make the baby sick. Sterilization of bottles is necessary because it makes the occurrence of spoilage very minimal by killing harmful germs and bacteria.
Promote Long-Term Health
Sterilizing the bottles builds the foundation of good hygiene as the children grow up. According to NIH research, contaminated bottles used for infant formula feeding are among the major ways through which harmful germs, enteric pathogens, are transmitted in early life. It's a major risk factor for illnesses in childhood and may lead to long-term side effects like cognitive impairments in developing countries.
Prevent Unpleasant Smell
Dirty bottles may smell, affecting a baby's appetite. Regular cleaning and then sterilizing the bottles will keep them fresh and odor-free, in turn making mealtime more enjoyable for little ones.
What Can Happen If You Don't Sterilize Baby Bottles?
Neglecting to sterilize baby bottles can lead to various serious health risks for infants:
Gastrointestinal Issues
Contaminated water bottles can contain E. coli and Salmonella, some of the bacteria known to cause adverse gastrointestinal problems in human beings. Such symptoms include vomiting, diarrhea, dehydrating events, and even hospitalization in severe cases.
Ear Infection
It is not difficult to understand; an ear infection is usually caused by bacteria and often begins after a child has a sore throat, cold, or other upper respiratory infection. If the upper respiratory infection is bacterial ( may be caused by unsterilized bottles), these same bacteria may spread to the middle ear. Then fluid builds up behind the eardrum due to the infection.
Respiratory Illnesses
Unclean bottles harbor bacteria and viruses, which cause respiratory infections: colds, and bronchitis, putting an extra load on the not-so-strong developing immune system of your baby.
5 Methods to Sterilize Feeding Bottles
Now that we know why it's so important, let's explore the 5 different ways to sterilize those very precious feeding bottles.
Method 1: Using a Steam Sterilizer to Sterilize Bottles for Newborns
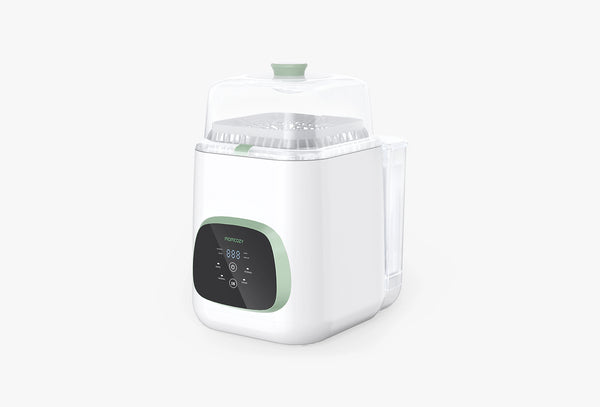
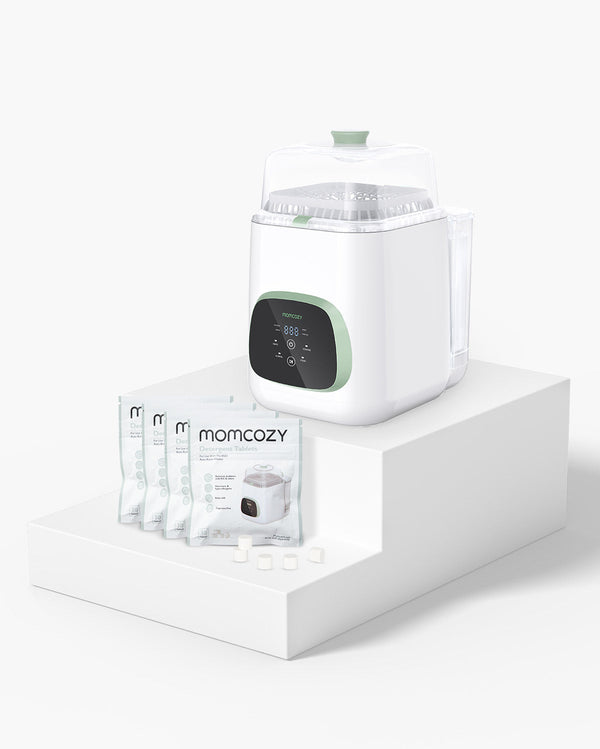
Steam sterilization is one of the most common and convenient ways to sterilize baby bottles. If you’re wondering how to sterilize feeding bottle with steam, a Momcozy bottle sterilizer is a simple place to start. It sterilizes and dries your bottles, but it does not have a cleaning function, so the bottles need to be washed first. .
Member price
$299.99Kodem Zaoszczędź 10%


Member price
$319.99$344.99
Member price
$304.99$319.99
Step 1: Prepare the Bottles
Disassemble all bottle and wash them by hand with warm, soapy water. Rinse well to remove milk or formula residue, since steam works best on parts that are already clean.

Step 2: Load the Sterilizer
Place the washed parts in the sterilizer with a little space between them, so steam can reach every surface.

Step 3: Add Water and Start
Add the amount of water the manufacturer recommends, close the lid, and start the cycle. .

Step 4: Cool and Remove
Let the sterilizer finish its drying cycle, then let the parts cool. Remove them with clean tongs or clean, dry hands.

Pros of Steam Sterilization:
- Fast and convenient
- Helps reduce harmful bacteria
- No chemicals needed
- Multiple items can be sterilized simultaneously
Cons of Steam Sterilization:
- Requires a specific device
- Cost of purchasing a baby bottle sterilizer
- Counter space is taken up
- Requires regular descaling to remain effective
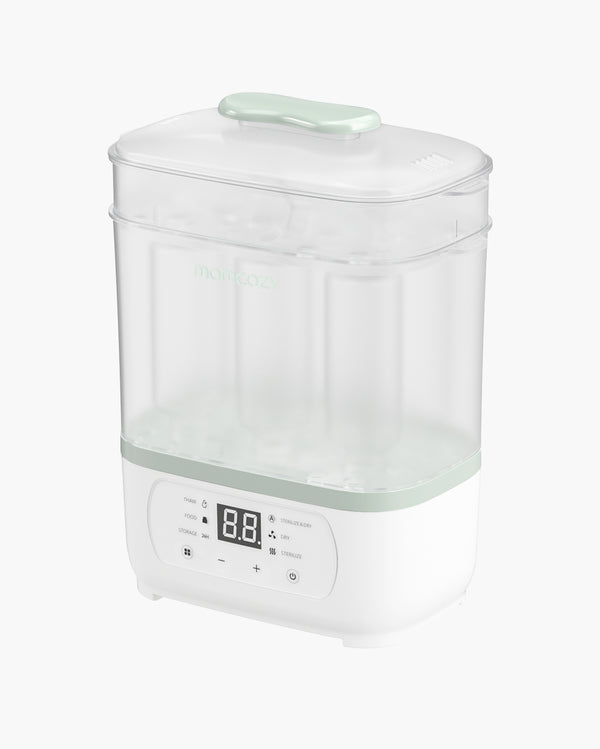
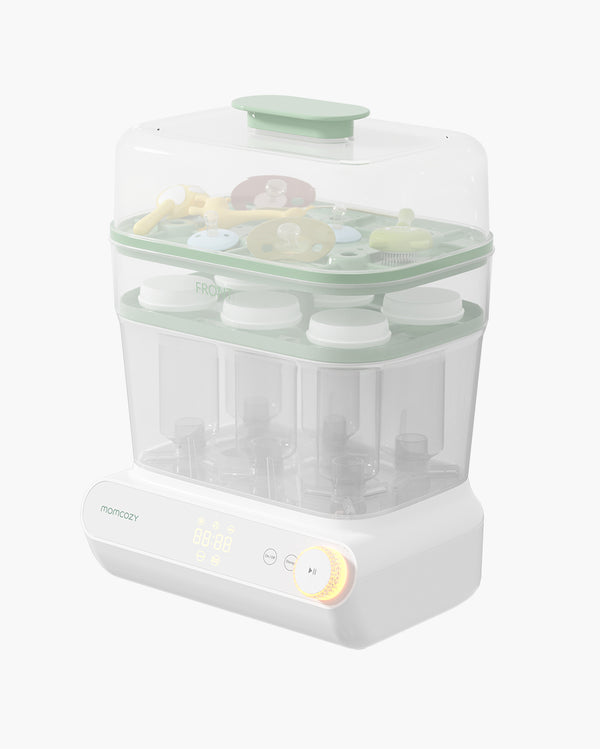
Momcozy’s sterilizer range includes the 4-in-1 Compact Bottle Sterilizer, the 8-in-1 Baby Bottle Steam Sterilizer, and the Momcozy 3-Layer Fast Bottle Sterilizer and Dryer.
Member price
$99.99$119.99Kodem Zaoszczędź 10%

Member price
$64.99Kodem Zaoszczędź 10%
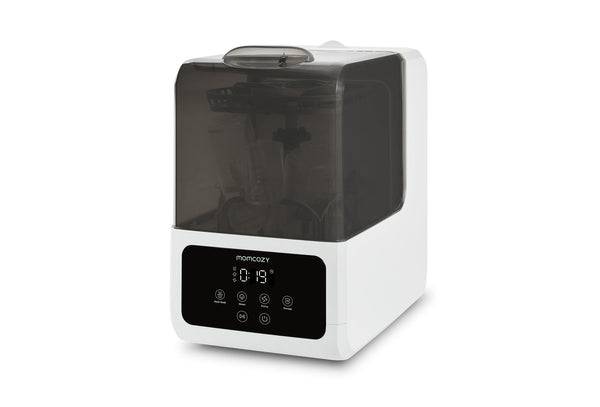
If you’re looking for an all-in-one solution that handles washing, sterilizing, drying, and storage, a Momcozy bottle washer is a different kind of machine made for that. Options include the DeepClean Lite Baby Bottle Washer, KleanPal Pro, and DeepClean D8.

Member price
$359.99Kodem Zaoszczędź 15%
Member price
$299.99Kodem Zaoszczędź 10%
Method 2: Boiling Water for Bottle Sterilization

This way is time-tested, yet simple and effective. Here's how to sterilize bottles in boiling water:
- Fill up a large pot with enough water, so that all the parts of the bottles are completely submerged in it.
- Get the water to a full boil.
- Carefully drop the parts into the boiling water, after dissembling and pre-cleaning them properly.
- Let the items boil for 5 minutes.
- Use clean tongs to remove the parts and set them out on a clean dry towel to air dry.
How long to boil bottles for sterilization?
The general guideline is to boil bottles along with their parts for 5 minutes. The time is long enough to kill the bacteria but not harm the materials of the bottles.
Pros of Boiling:
- No special equipment needed
- Does kill the bacteria
- Inexpensive
Cons of Boiling:
- Time-consuming
- Needs constant supervision
- Might damage some bottle materials if used continuously
- May get burned if handled appropriately or not done
If you want to know how often you should change the bottle, check out this blog: The baby's bottle will also expire.
Method 3: Sterilization through Chemicals
Sterilization by chemicals means using specific solutions that kill bacteria. This is how you clean baby bottles using this method:
- Clean each bottle well using hot soapy water, then rinse.
- Fill a clean container with cold water in the direction of the solution to be used for sterilizing.
- Add the recommended amount of sterilizing liquid or tablets to the water.
- Dip the bottle in solution, ensuring no air pockets, and let them soak in the solution for the suggested time, usually half an hour.
- Take out the items using clean tongs and then rinse thoroughly using boiled water that has cooled before use.
What soap is safe to wash baby bottles in?

For initial cleaning before sterilization, a mild, fragrance-free dish soap is ideal. You want to steer clear of harsh detergents and soaps with added fragrances because these deposit residues that are likely to irritate your baby's sensitive system.
Pros of Chemical Sterilization:
- Convenient for travel
- Does not require any electrical equipment
- Items can be kept in the solution for as long as 24 hours to maintain sterility
Cons of Chemical Sterilization:
- Requires measurement of chemicals with great accuracy
- Sterilizing solution must be purchased on a regular basis
- Chemical taste if not properly rinsed
- Not the most environment-friendly method
Method 4: Microwave Sanitizer for Bottles
A microwave sterilizer is another fast and convenient way to sterilize for the majority of parents. This section will help you in microwave sanitizing your baby bottles.

- Clean the bottles and other parts thoroughly with soap and water.
- Place the items in a microwave-safe sterilizer bag or container.
- Add the recommended amount of water to the sterilizer.
- Microwave on high following the manufacturer's directions (usually 3-8 minutes).
- Last, let the sterilizer cool down before removing items cautiously.
Pros of Microwave Sterilization:
- Very quick process
- Kills 99.9% of harmful bacteria
- Compact and portable option
- No chemicals involved
Cons of Microwave Sterilization:
- Requires a microwave-safe sterilizer
- Sterilizes only microwave-safe items
- Needs to be cautious of burns from steam
- May not fit larger bottles or more than one at a time
Method 5: UV Bottle Sanitizer
UV Sterilization is a state-of-the-art way to kill bacteria without the use of chemicals by utilizing Ultraviolet Light, which is particularly useful in learning how to sterilize a feeding bottle. Here's how to do it with a UV light bottle sterilizer:

- Clean the bottles and parts in soapy water.
- Arrange the items inside the UV sterilizer; make sure not to bunch them up.
- Close the lid and begin the sterilizing cycle.
- Allow the cycle to complete; this usually takes 5-10 minutes.
- Take out sterilized items, which are now ready for use.
Pros of UV Sterilization:
- Fast and effective
- No water or chemicals used
- Can often be used for other items such as pacifiers or toys
- Compact and space portable
Cons of UV Sterilization:
- Higher upfront cost
- If items are stacked, UV may not reach all surfaces
- Does not remove physical debris-pre-cleaning is still necessary
- Needs electricity or power from a battery
Do I Need to Sterilize Baby Bottles Every Time?
Not always. Washing bottles after every use is a must, but sterilizing doesn’t have to happen after every feed. How often depends on your baby’s age and health.
According to Pregnancy Birth Baby, bottles that haven’t been used within 24 hours should be sterilized again before use. If you pump, clean your equipment at least once every 24 hours. Healthy, full-term babies usually don’t need sterilized expressing equipment. If you or your baby is sick, or your baby was born prematurely, ask your doctor or child health nurse how to clean and sterilize your equipment. .
|
Situation |
Separate Sanitizing Needed? |
Practical Note |
|
Healthy baby, older than 2 months |
Usually not required daily if cleaning is careful (CDC) |
Focus on thorough washing and complete drying. |
|
Baby under 2 months, premature, or immunocompromised |
Yes, at least daily (CDC) |
Include bottle brush and wash basin in sanitizing routine. |
|
You run a dishwasher with hot water and heated drying or sanitizing cycle |
Usually no extra step (CDC) |
Great low-effort routine for busy days. |
|
Pumping frequently |
Daily if higher-risk baby (CDC) |
Tubing with milk or mold should be replaced, not “saved” (CDC). |
|
Water safety concern (outage, flood, or unsafe source) |
Keep sanitizing, and use safe water for formula prep (FDA) |
Use bottled water or boiled water guidance during emergencies. |
The Benefits and Risks of Frequent Baby Bottle Sterilization
Sterilizing helps protect your baby, but more is not always better. Here is what you gain from it and what to watch for.
Benefits of Sterilizing Baby Bottles
Sterilizing baby bottles helps reduce your baby’s exposure to harmful germs. Clean bottles matter most in the first few months, when babies are more vulnerable to infection. It also gives parents peace of mind, since they know the bottles are hygienic. However, sterilizing too often comes with some risks.
Risk 1: Over-Cleaning
Over-cleaning may affect how a baby’s immune system develops. Some exposure to everyday bacteria is a normal part of building immunity over time, so sterilizing doesn’t need to go beyond what your baby’s age and health call for.
Risk 2: Wear and Tear
Repeated high-heat sterilizing can make plastic bottles age faster. Nipples and caps can also wear out or break more easily, which can shorten their lifespan. Check the bottles for cracks, cloudiness, or damage often, and replace them when needed.
Risk 3: Forgetting Other Hygiene Habits
If you rely only on sterilizing, it’s easy to overlook other important habits, like washing your hands, storing bottles safely, and cleaning surfaces to stop germs from spreading.
Is a Bottle Sterilizer Necessary?
Not strictly, but it can help. Using a bottle sterilizer makes cleaning bottles easier and less stressful, especially for new parents with a lot on their plate. It isn’t required, but a reliable one can save time and give you peace of mind. It’s especially worth considering in the first few months, when babies are more vulnerable to infections.
If you want an all-in-one option, the Momcozy KleanPal Pro Baby Bottle Washer and Sterilizer combines a bottle washer, sterilizer, dryer, and storage in one machine, which frees up more of your time.
Frequently Asked Questions Sterilization Feeding Bottle
Do You Need to Sterilize Baby Bottles for Breast Milk?
Sterilize new bottles once before the first use. After that, washing with hot, soapy water after every use is usually enough for healthy, full-term babies. Sterilizing daily is recommended for younger babies, premature babies, and babies with weakened immune systems. If you’re unsure, ask your pediatrician.
Do I Need to Sanitize Bottles After Every Feed for My Healthy 4-Month-Old?
Usually not. Washing the bottle thoroughly after every feed and letting it dry completely is generally enough for a healthy baby this age. Daily sanitizing matters most for younger or higher-risk babies, and your pediatrician can tell you what fits your baby.
Can You Sterilize Bottles Without Washing Them First?
No. Milk or formula residue can shield germs from steam, boiling water, or solution, so sterilizing alone won’t work well. If you’re wondering how to sterilize feeding bottle, always wash them with warm, soapy water first, then sterilize.
Can I Reuse a Baby Bottle Without Sterilizing?
Yes, as long as you wash it thoroughly with hot, soapy water and let it dry fully after each use. This is usually fine for healthy, older babies. Never reuse a bottle that has only been rinsed, and ask your pediatrician about sterilizing for younger or higher-risk babies.
How Long Do Bottles Stay Sterile After Sterilizing?
Not for long once they’re exposed to air, hands, or surfaces. As a general guide, sterilize bottles again if they haven’t been used within 24 hours. Some sterilizers have storage features, so follow your product’s instructions for how long parts can stay inside.
Do Bottles Need to Be Washed After Sterilizing?
No. Wash bottles before sterilizing, not after. Rinsing sterilized parts can add germs back from the tap or your hands. Wash your hands, let the parts dry fully, and handle them with clean tongs or clean hands.
Are You Supposed to Boil Plastic Baby Bottles?
Only if the manufacturer says they’re boil-safe. Many baby bottles can be boiled for 5 minutes, but some plastics can warp or wear out faster with repeated heat. Check the label or manual first, and use clean tongs to remove them.
Is a Dishwasher’s “Sanitize” Setting Good Enough?
For many healthy babies, yes. A dishwasher cycle with hot water and a heated drying or sanitize setting can serve as the sanitizing step, as long as the parts are dishwasher-safe. Place small pieces in a closed basket on the top rack. For babies under 3 months, premature babies, or babies with weakened immune systems, ask your pediatrician if you need an extra sterilizing step.
How often should I sanitize the baby bottles?
Sterilize all equipment for feeding before its first use. In newborn babies and those under 3 months, or with a weak immune system, continue to sterilize after each use. As your baby grows, you can gradually reduce the frequency of sterilization, but always keep good cleaning.
When Should I sterilize baby bottles?
Sterilize bottles after every use for new babies and young infants. By the time your baby is 3 months, provided you clean rigorously after every use, you can start sterilizing less frequently – perhaps once a day. Always sterilize if your baby has been ill or if bottles have been stored for a while.
What parts need cleaning?
Sterilize all equipment used for feeding that comes into contact with milk or your baby's mouth. This will include:
- Bottles and nipples
- Caps and rings
- Mixing spoons
- Formula containers
- Breast pump parts if used
Can You Just Rinse Baby Bottles Before Sterilizing?
No—rinsing alone isn’t enough. The bottles should be thoroughly washed with warm soapy water, then sterilized to remove milk residue; otherwise, the bacteria will attach to the surfaces.
Do You Need Special Soap for Baby Bottles?
It does not require special soap, but it is advisable to use a light, fragrance-free detergent that is easily washed away. The baby bottle soaps are designed to be mild and efficient, yet ordinary dish soap is okay, provided it is safe and does not contain harsh chemicals.
What Is the Safest Way to Sterilize Baby Bottles?
Every typical practice, boiling, steam, UV and cold-water sterilizing solutions, is safe provided they are properly performed. Electric or microwave steam sterilizers are more convenient to many parents, and boiling is the most available and inexpensive.
Sterilization: Different Methods, Same Goal
Sterilization of your baby's feeding bottles is one of the most important steps towards the good health and well-being of your child. Be it steam, boiling, chemical, microwave, or UV sterilization, the trick lies in how persistent and regular you can be with it. Each method has its share of advantages and disadvantages, so pick the one that works best with your lifestyle and needs.
Always keep in mind that with the growth of your baby and the maturing of their immune system, you can reduce the sterilization frequency. Of course, cleanliness regarding feeding equipment is always taken care of.