MEDICALLY REVIEWED BY

Una Qian, Registered Nurse, IBCLC
I am a Registered Nurse and International Board Certified Lactation Consultant (IBCLC) based in Beijing, China. With 16 years of experience in obstetrics and gynecology, I currently provide clinical breastfeeding support. Over the past few years, I have obtained the Level II Certification in the French WAFF Perinatal Rehabilitation Method and the BFE Level I Certification in Pelvic Floor Rehabilitation (European Level I), which qualifies me to guide both prenatal and postpartum mothers in appropriate exercise programs and provide evidence-based postpartum rehabilitation.
No. Sanitizing or sterilizing does not replace washing. Every bottle component needs to be taken apart, washed to remove milk or formula residue, inspected, and then sanitized when appropriate. That sequence matters because a steam sterilizer, dishwasher sanitizing cycle, or other sanitizing method cannot stand in for cleaning the surfaces and tiny passages where residue can remain.
The CDC’s guidance for cleaning infant feeding items recommends separating bottle parts before washing or sanitizing, cleaning bottles after every feeding, and sanitizing cleaned items when needed.
Start with a Complete Disassembly

A bottle may look like one item when assembled, but it is a collection of surfaces that need individual attention. Before washing, separate the bottle body, nipple, collar or ring, cap, and any valve, membrane, vent, seal, straw, or insert that belongs to that model.
Use your bottle’s assembly diagram or care instructions as the final word. Not every bottle has an anti-colic vent or valve, and small components may have specific cleaning, dishwasher, steam, or boiling limitations.
As you take the bottle apart, check these commonly overlooked areas:
- Bottle threads and neck: Look around the threaded rim and shoulder, where a collar screws on. Formula or milk film can remain in the grooves.
- Underside of the collar or ring: Turn it over rather than washing only the visible outer edge.
- Inside the nipple: Wash both the outside and interior of the nipple. When hand-washing, squeeze water through the nipple hole so the passage is cleaned.
- Nipple opening: Check that the opening is clear without stretching, tearing, or altering it.
- Valves, membranes, and vents: Separate every removable piece and inspect both sides, edges, channels, and attachment points.
- Straw systems and small inserts: Follow the manufacturer’s instructions for reaching narrow passages and for using any compatible cleaning brush.
- Caps and seals: Check the inner surface, rim, and crevice where the cap meets the nipple or bottle.
- Manufacturer-approved tools: Use only brushes or cleaning tools approved by the manufacturer for the nipple and other parts.
A useful rule is simple: if milk or formula can touch it, wash it. If a component comes apart, clean it apart.
Wash First: The Step a Sterilizer Cannot Replace
Caregiver washing fully separated bottle parts in a dedicated basin before sanitizing
Cleaning removes residue. Sanitizing is an additional step for reducing germs on already-clean items. Skipping washing and placing a used bottle directly into a sterilizer leaves the cleaning job incomplete.
Bottles should be cleaned after every feeding. A quick rinse is not the same as washing; when breast milk or formula is added to a partially used or only-rinsed bottle, germs can grow quickly.
For hand-washing, use a clean basin reserved only for infant feeding items rather than washing bottle parts directly in the kitchen sink. Then follow a consistent routine:
- Wash your hands before handling used or cleaned parts.
- Disassemble the bottle completely.
- Rinse each part under running water.
- Wash all surfaces with soap and water, using a clean bottle brush dedicated to feeding items (or a manufacturer-approved brush or tool for the nipple). Reach inside the bottle, around threads, under collars, and through openings.
- Flush nipple holes and narrow passages with water during washing.
- Rinse thoroughly and inspect before moving on to sanitizing or drying.
If you use a dishwasher, first confirm that each piece is dishwasher-safe. Place small parts in a closed-top basket or mesh bag so they do not fall into the filter. A hot-water cycle with a heated drying cycle or sanitizing setting can help kill more germs, but the parts still need to be disassembled and properly loaded.
Inspect Parts Before You Sanitize
Disassembled bottle parts exposing valves, vents, threads, gaskets, and other hidden areas
Inspection is the bridge between washing and sanitizing. Sanitizing a part is not a reason to ignore visible film, trapped residue, or damage.
Hold each component where you can see inside it. Look for residue in grooves, cloudy areas that do not clear after washing, or material caught along valve edges and seals. Check nipples, membranes, and valves for tears, cracks, stickiness, or other wear.
If residue does not release after proper washing, or a part has a persistent odor, discoloration, damage, or suspected mold, do not assume another sterilizing cycle will solve it. Check the bottle manufacturer’s replacement guidance for that component. For a nipple or valve that is torn, cracked, or no longer functions as intended, replace it according to the manufacturer’s instructions.
Do not use an improvised tool that could damage a nipple opening, vent, or valve. Small channels need gentle cleaning with tools approved for that bottle system.
Decide When to Sanitize
Bottle parts arranged beside steam, boiling, dishwasher, and cold-water sanitizing methods
Careful washing after every use is essential for all bottles. Daily sanitizing is particularly important for babies who are:
- Younger than 2 months
- Born prematurely
- Living with a weakened immune system
For older, healthy babies, daily sanitizing may not be necessary when feeding items are carefully cleaned after every use. Public-health guidance can differ by location, so follow current local advice as well as any instructions from your child’s healthcare team.
When sanitizing is appropriate, choose a method that the bottle manufacturer approves for every component. Depending on the item, this may include a dishwasher sanitizing setting, a steam system, boiling, or another approved method.
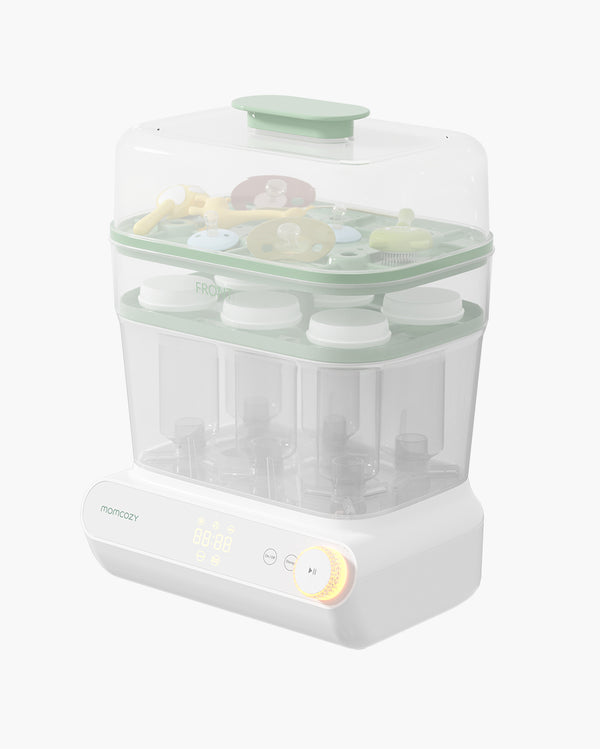
Steam systems deserve the same careful setup as hand-washing: load only compatible, disassembled parts and follow the appliance instructions for placement, cycle operation, cooling, and drying. A sterilizer cannot reliably reach surfaces that are blocked by an assembled valve, nested collar, or improperly loaded bottle part.
Air-Dry and Store Without Recontaminating Parts
Drying is not just the last chore. It is part of the hygiene routine.
After washing or sanitizing, place parts on a clean, unused dish towel or paper towel in a protected area and allow them to air-dry thoroughly. Do not rub or pat them dry with a dish towel, which can transfer germs back onto clean parts.
Once every piece is fully dry, reassemble and store the bottle in a clean, protected area. Avoid closing up damp parts or stacking them where moisture can remain trapped.
Drying racks can be useful, but they need maintenance too. If you use one:
- Reserve it for infant feeding items.
- Keep it clean and thoroughly dry.
- Include its grooves, posts, drainage areas, and removable pieces in your cleaning routine.
Clean the Tools That Clean the Bottles
Bottle brushes and wash basins also touch feeding equipment, so they need their own care.
After each use, rinse the brush and basin well and let them air-dry. Wash them every few days, either by hand with soap and warm water or in the dishwasher if they are dishwasher-safe. For babies younger than 2 months, babies born prematurely, or babies with weakened immune systems, wash the basin and brush after every use.
The same principle applies to dishwasher baskets, sterilizer trays, and drying racks: follow the appliance or accessory instructions for cleaning, descaling, loading, and maintenance. Equipment can simplify the routine, but only when bottle parts are disassembled, compatible with the method, correctly loaded, and kept clean.
Clean Before You Sanitize
Before the next sanitizing cycle, run through this short checklist:
- Disassemble: Separate the bottle, nipple, collar, cap, and every removable vent, valve, membrane, or insert.
- Wash: Use a bottle cleaning agent/detergent to remove milk and formula residue from every surface, thread, opening, and channel.
- Inspect: Check for trapped residue, clouding, cracks, tears, stickiness, or worn parts.
- Sanitize When Appropriate: Use only a manufacturer-approved method for the specific components.
- Air-Dry: Let parts dry completely on a clean, protected setup.
- Maintain Tools: Clean and dry the brush, basin, rack, basket, or appliance parts that touch feeding equipment.
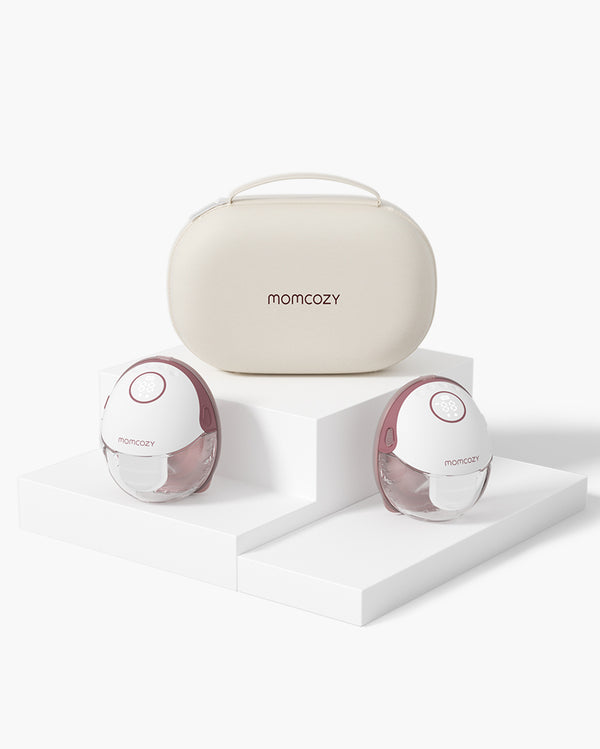
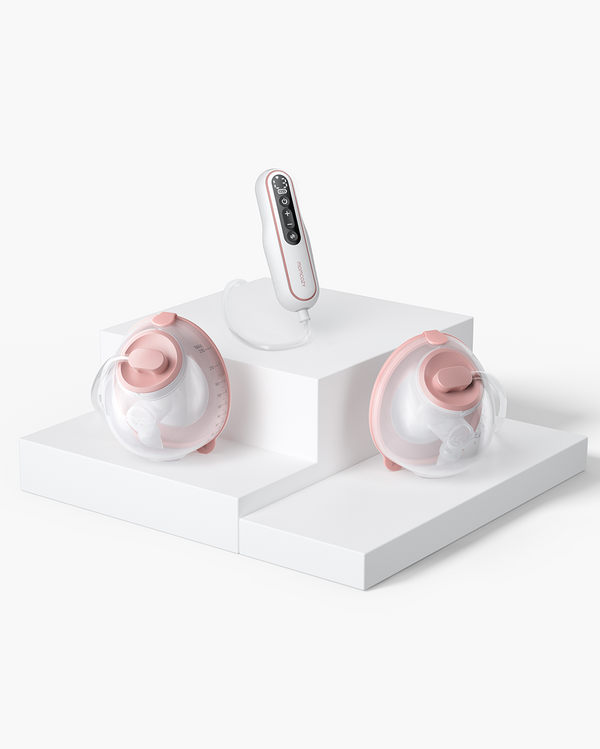
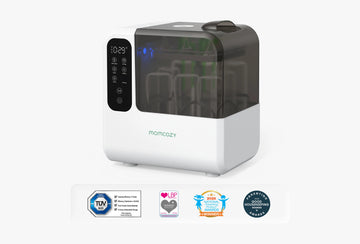
If you want help streamlining the process, explore Momcozy’s bottle-cleaning and sterilizing resources—but keep the core routine the same: clean first, sanitize compatible parts when needed, and maintain the tools that support the job.