MEDICALLY REVIEWED BY

Shelly Umstot, BSN, RN
Shelly Umstot is a BSN and has been a registered nurse for over 35 years. She lives in North East Ohio and is a freelance health content writer. Her passion is bringing understanding to those with questions and concerns regarding health issues and helping them obtain and maintain their optimal health. She loves being with her family and has two lovely granddaughters who have stolen her heart. Assisting new parents in finding the information they need to face the joys and challenges of caring for their children is a gratifying experience for her as a professional, parent, and grandparent herself.
Breast pumps are a vital tool for many mothers. However, just as important as the act of pumping is to ensure your pump and its components are clean and hygienic. Properly cleaning and sterilizing breast pump parts not only protects your baby from harmful bacteria but also ensures the pump's effectiveness and longevity.
Today, we'll take you step-by-step through washing , sterilizing, and drying your breast pump parts in an effort to help keep your breast bumping safe and efficient.
Why Is Sanitizing Breast Pump Parts Very Important?
Breast milk is rich in nutrients, which also makes it a good place for bacteria to grow. Any residue left on flanges, valves, membranes, or bottles can allow germs to build up, and those germs can then reach the next batch of milk you pump.
Washing removes visible milk and dirt, while sanitizing adds a step that further reduces germs on parts that are already clean. That extra step matters most for babies younger than 3 months, babies born prematurely, and babies with weakened immune systems, because their bodies have a harder time fighting off infection. If you sanitize breast pump parts as part of your routine, you reduce the chance of passing germs to your baby. If you’re unsure how often to do it, ask your pediatrician.
Before you pump: how to keep your pump kit clean
Follow these key steps before each pumping session for a clean and safe breast pump kit:
Wash Your Hands. Thoroughly wash your hands with soap and water for at least 20 seconds. Which helps reduce the risk of contaminating the pump parts with bacteria or germs
Clean the Pumping Area. Use disinfectant wipes to sanitize the surface where you'll place your pump-an important thing to do if you're in a shared space or using a communal pump. Be sure to wipe down any dials, power switches, and countertops
Assemble a Clean Pump Kit. Inspect your pump kit for any mold, dirt, or damage, especially in the tubing and valves. Only use a clean, dry kit for each session to ensure no contamination
If Using a Shared Pump, Clean It. Clean the exterior surfaces of the pump thoroughly with disinfectant wipes, paying attention to frequently touched areas like the buttons and handle. The step is extremely required in shared spaces like hospitals or workplaces
How Do I Sterilize Breast Pump Parts with Sterilizers?
A sterilizer for breast pump parts uses steam or high heat to reduce germs on parts that have already been washed. Machines that combine washing, sterilizing, and drying make the routine easier, and the options below show how each one works.
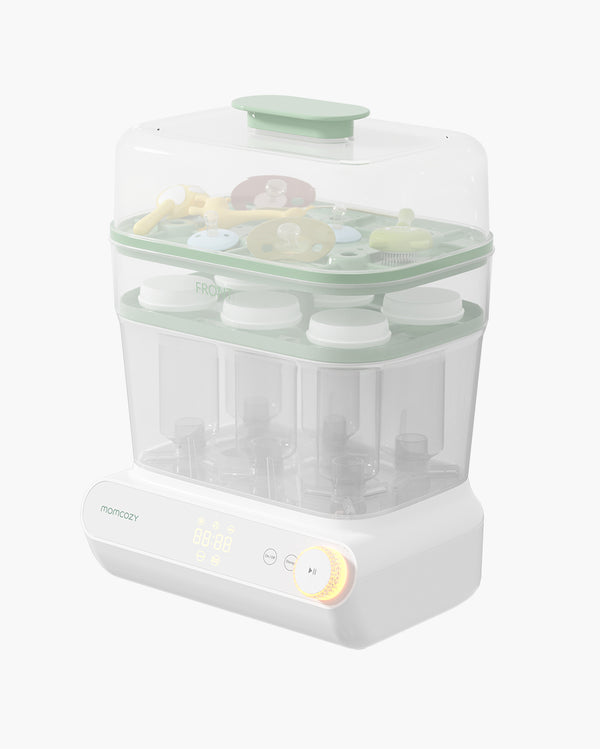
Momcozy KleanPal Pro Baby Bottle Washer and Sterilizer
The Momcozy KleanPal Pro washes, sterilizes, and dries your pump parts in one machine, so you don’t need a separate manual cleaning step.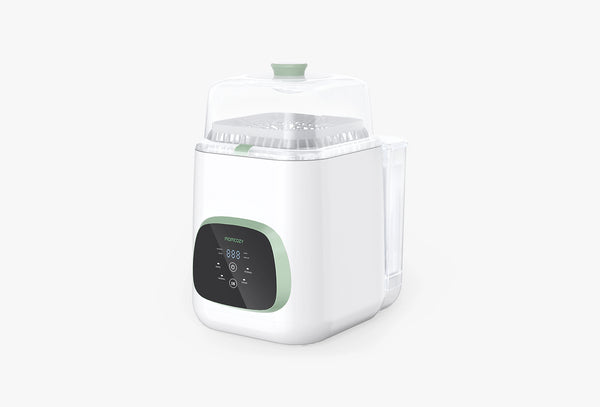 Member price
$299.99Code Save 10%
 Member price
$299.99
 Member price
$319.99
$344.99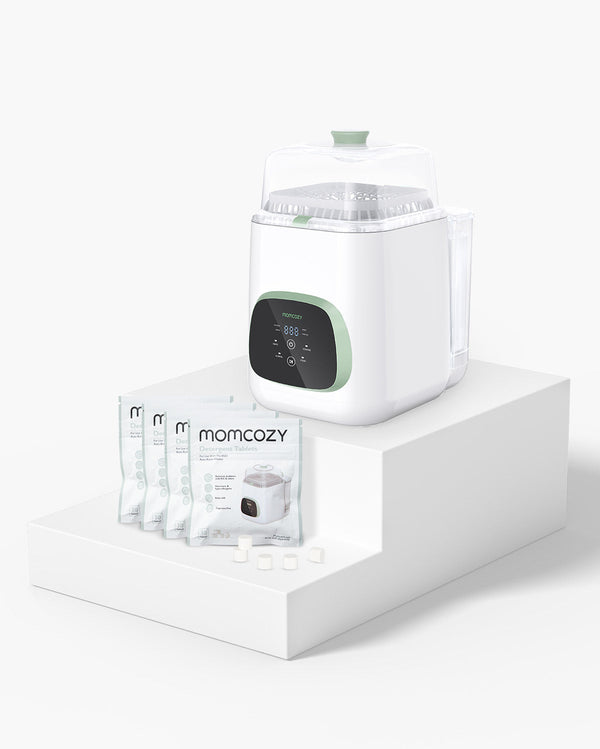 Member price
$304.99
$319.99
- Prepare the Parts: Pour out any remaining breast milk, then take apart the pump and remove valves, membranes, and other small pieces.
- Load the Machine: Place the parts inside the washer, securing each one on the spray sticks. Remove the holders if you need more space.
- Add Detergent and Water: Place one detergent tablet in the machine and fill the water tank above the minimum line.
- Choose a Mode: Press “ON/OFF” and select from the 9 cleaning modes, such as the 19-minute Rapid Wash or the 29-minute Normal Wash. You can also press “STEAM” or “STORAGE,” which holds your parts for up to 72 hours.
- Wait for Cooling: After the drying cycle finishes, wait 10 minutes before removing the parts so they can cool down.
Safety note: Hot water may remain inside the unit after a cycle. Place the drain hose below the outlet, avoid direct contact with discharged water, keep children away, and let the unit and any remaining water cool before handling or storing it.
Momcozy DeepClean Baby Bottle Washer and Sterilizer
The Momcozy D8 Bottle Washer is a more specialized, all-in-one option for cleaning breast pump parts. Unlike manual washing, which needs separate scrubbing and sterilizing steps, the D8 combines them in a single automated cycle. Its high-pressure water jets reach smaller parts like valves and membranes that can be harder to wash by hand, and sterilization follows the wash. Drying is also available, depending on the program you select. Because everything happens in one machine, you don’t have to move parts between different tools, which suits busy parents who want a more hands-off routine and less manual scrubbing.  Member price
$359.99Code Save 15%
 Member price
$374.99
$404.99Code Save 15% Member price
$364.99
$379.99Code Save 15% Member price
$384.99
$414.99Code Save 15% Member price
$369.99
$389.99Code Save 15%
1. Disassemble the Pump Parts: Take apart all milk-contact parts (flanges, valves, membranes, connectors, bottles) and discard any leftover milk.
2. Load into the D8: Place all parts securely inside the machine with proper spacing for effective cleaning.
3. Add Water and Detergent: Fill the water tank and add detergent as instructed.
4. Start the Cycle: Select the appropriate program and press start. The D8 will handle the cleaning automatically.
5. Wait for Completion: Let the full cycle finish, including drying if selected. Do not open early.
6. Remove and Store: Take out the clean, dry parts and store them in a clean, dry place until next use.
Momcozy DeepClean Lite Baby Bottle Washer and Sterilizer
The Momcozy DeepClean Lite is a compact option if counter space is tight. At only 9 inches wide, this sterilizer for breast pump parts washes, steams, dries, and stores your parts in one cycle, with Pump360 rotary jets made for pump parts.

- Disassemble the Pump Parts: Separate all milk-contact parts (flanges, valves, membranes, connectors, collection cups) and pour out any leftover milk.
- Prepare the Washer: Put the drain hose in your sink and fill the water tank with clean, room-temperature water up to the MAX line.
- Load the Pump Parts: Press the release tab and remove the bottle racks and nipple racks. Install the Pump360 rotary jets, place the collection cups over them, line up the flanges with the spray jets, and put smaller parts on the upper rack.
- Add a Cleaning Tablet: Place one Momcozy cleaning tablet under the upper rack and close the lid fully. Skip dish soap and other detergents, which can cause too much foam.
- Choose a Cycle: Select Rapid Wash (19 minutes) or Normal Wash (29 minutes), add steam, drying, or storage if you need them, then press start.
- Remove and Store: Wait about 10 minutes after the cycle ends, then take out the parts and store them in a clean, dry place.
Tip: Wash only heat-resistant parts, and never put a pump motor or anything with electronics in the washer.
How to Sterilize Pump Parts in Boiling Water
- Disassemble all parts that come into contact with milk.
- Boil water in a large pot.
- Once boiling, submerge the parts (flanges, valves, membranes, bottles) in the water.
- Boil for 5 minutes.
- Remove the parts using tongs and place them on a clean, unused towel to dry completely.

Sterilizing Breast Pump Parts in the Dishwasher
Sterilizing breast pump parts in the dishwasher is a hands-off option if your parts are labeled dishwasher-safe. Check your pump’s manual first, since not every part can handle the heat.
- Disassemble the Parts: Take apart every piece that touches milk and rinse each one under running water.
- Load Small Parts Safely: Place valves and membranes in a closed-top basket or mesh bag on the top rack so they don’t fall through.
- Choose the Right Setting: Use hot water and a heated drying cycle. If your dishwasher has a sanitize setting, select it.
- Unload with Clean Hands: When the cycle ends, wash your hands, then remove the parts and let them dry fully before storing them.
How to Use a Sterilizer for Breast Pump Parts in the Microwave
A microwave sterilizer for breast pump parts is usually a steam bag or a covered container that heats water into steam. It is a quick option when you don’t want to boil a pot.
- Wash First: Clean all parts with warm, soapy water and rinse them well. Steam works best on parts that are already washed.
- Add Water and Parts: Follow the product’s instructions for how much water to add, then place the parts inside the bag or container.
- Microwave as Directed: Close it as instructed and microwave for the time listed on the packaging. Times differ by product and microwave wattage.
- Cool Before Opening: Let the bag or container cool for the recommended time, since the steam and parts will be very hot. Use clean tongs to remove the parts.
- Dry Completely: Place the parts on a clean, unused towel and let them air-dry before storing.
Never microwave parts outside a product made for that purpose, and check that your pump parts are microwave-safe before you start.
How to Sterilize Breast Pump Parts Without a Sterilizer
You don’t need a special machine to sanitize breast pump parts. Heat is what does the work, and you can use what’s already in your kitchen. To disinfect breast pump parts without a sterilizer, you have three options:
- Boil them: Wash the parts, then boil them in a clean pot for 5 minutes, as described in the boiling water section above.
- Use the dishwasher: Select the sanitize setting or a hot water cycle with heated drying if your parts are dishwasher-safe.
- Use a steam bag: If you have a microwave steam bag, follow the packaging instructions for the bag and your microwave.
Disinfectant wipes are for the pump’s outside surfaces, like the motor housing, dials, and countertops, and not for parts that touch milk. Whichever method you choose, wash first, let the parts dry fully, and check your pump’s manual to confirm the method is safe for each part.
Do I Need to Dry Breast Pump Parts After Sterilizing?
Yes, drying breast pump parts completely after sterilization prevents the growth of bacteria and mold.
If you intend to dry breast pump parts as fast as possible, you can do as follows:
- Air dry. Place pump parts on a clean, unused dish towel or paper towel and allow them to air dry. Note that using a cloth to wipe can introduce germs
- Use a sterilizer with a drying function. Devices, like the Momcozy KleanPal Pro, automatically dry breast pump parts following sterilization and keep them stored and sterile for up to 72 hours. For parents who prefer a more streamlined option, the Momcozy D8 Bottle Washer combines washing, sterilizing, and drying in one cycle, reducing manual steps and the need to move parts between different tools.
Do You Need to Sterilize Breast Pump Parts After Every Use?
No, it is not necessary to sterilize breast pump parts after every use as long as you've washed them thoroughly after each pumping session. Sterilization is recommended for newborns under three months, premature babies, or babies with weakened immune systems.
How Often to Sterilize Pump Parts
For newborns and babies with health conditions, it is recommended to sterilize parts daily. For healthy older babies, sterilize the parts every few days or after every few uses.
FAQs
How do I sterilize breast pump parts?
First wash all milk-contact parts in hot, soapy water and rinse. Then sterilize using any one method: boil them for about 5 minutes, use microwave steam bags, run an electric steam sterilizer, or soak in a cold-water sterilizing solution. Let everything air-dry fully on a clean towel before storing or reassembling.
Do I need to sterilize breast pump parts after every use?
No — wash parts after every use, but you only need to sterilize once a day for a healthy, full-term baby, per CDC and NHS guidance. Sterilize more often if your baby was premature, is under 3 months, or has a weakened immune system. Thorough washing after each session is the essential daily step.
How do I sterilize pump parts without a sterilizer?
Boiling is the simplest no-equipment method: submerge the washed parts in a pot of water, bring to a rolling boil for 5 minutes, then lift them out with clean tongs and air-dry. Microwave steam bags are another low-cost option. Always check that your specific parts are labelled safe for boiling first.
Can I sterilize breast pump parts in a bottle sterilizer?
Yes, if the parts are steam-safe — most pump flanges, valves, and bottles are. Wash them first, arrange them so steam reaches all surfaces, and run the cycle. An electric bottle sterilizer is one of the easiest ways to sanitise pump parts; see our guide on cleaning your bottle sterilizer to keep the unit itself germ-free.
Do breast pump parts need to be completely dry before use?
Yes. Let parts air-dry fully on a clean, dedicated towel or rack before reassembling or storing them. Lingering moisture lets bacteria and mould grow, which can contaminate your milk. Avoid rubbing them dry with a cloth, as that can transfer germs and lint — air-drying is the hygienic choice.
Do I need to sterilize pump parts before the first use?
Yes. Before you use a new pump for the first time — ideally before your baby arrives — wash all parts and sterilize them once to remove any manufacturing residue and germs. After that initial sterilize, you can switch to the routine of washing after every use and sterilizing once daily.
Can I just sterilize pump parts without washing them first?
No. Sterilizing alone won't remove milk residue, and dried-on milk can shelter bacteria from the steam or boiling water. Always wash first in hot, soapy water — or a dishwasher cycle — to physically remove milk, then sterilize. Skipping the wash step makes sterilizing far less effective.
What's the difference between washing and sterilizing pump parts?
Washing physically removes milk and residue with soap and water and must happen after every use. Sterilizing then kills remaining germs using heat, steam, or solution, and is recommended once a day for most babies. They're complementary steps: wash for cleanliness every time, sterilize for extra protection daily.
Summary
An often clean and sterile breast pump holds the key to safe feeding. While washing after every use is necessary, daily sterilization isn't always a needed option—though it's a must for newborns and babies with health concerns. With tools like the Momcozy KleanPal Pro, you can streamline the daunting cleaning process, combining washing, sterilizing, drying, and even storage.