Cleaning breast pump parts properly is one of the most important ways to keep your baby safe while feeding. Any part that touches milk can harbor bacteria if it isn’t cleaned, and a consistent routine keeps germs from building up. With the right tools and technique, it takes only a few minutes.
The CDC recommends the same routine after every use. Wash your hands, then take apart every piece that touches milk and rinse each one under running water. Skip the kitchen sink, which can hold bacteria, and use a dedicated wash basin instead. Scrub each piece with warm, soapy water, then let everything air-dry completely on a clean paper towel or rack. Bacteria multiply quickly in leftover milk, so the goal is to reduce contamination risk, not just make parts look clean.
Ways to Clean Breast Pump Parts
There are three main ways to clean breast pump parts, and the right one depends on your routine and what your pump’s manufacturer allows.
Hand Washing
Hand washing is the most common method. To wash breast pump parts by hand, use a dedicated basin, warm water, and a few drops of dish soap. Scrub every piece that touches milk with a clean brush, rinse well, and air-dry completely.
Dishwasher Cleaning
Dishwasher cleaning saves time if your parts are labeled dishwasher-safe. Place small pieces in a closed basket on the top rack and use hot water with a heated drying cycle if available. Check your pump’s manual first, since not every part can handle the heat.
Bottle Washer Cleaning
A bottle washer is the most hands-off option. After you take the parts apart and pour out any leftover milk, load them into the machine, add detergent and water as the instructions say, and run a cycle. Many models also dry the parts, which saves a step. Wash only heat-resistant parts, and check your pump’s manual to confirm which ones are machine-safe.
Whichever method you choose, always let parts dry fully before storing them.
Which Breast Pump Parts Should Be Washed?
The parts that need washing typically include:
- Breast shields (flanges)
- Valves
- Membranes
- Connectors
- Milk collection bottles
- Backflow protectors (if applicable)
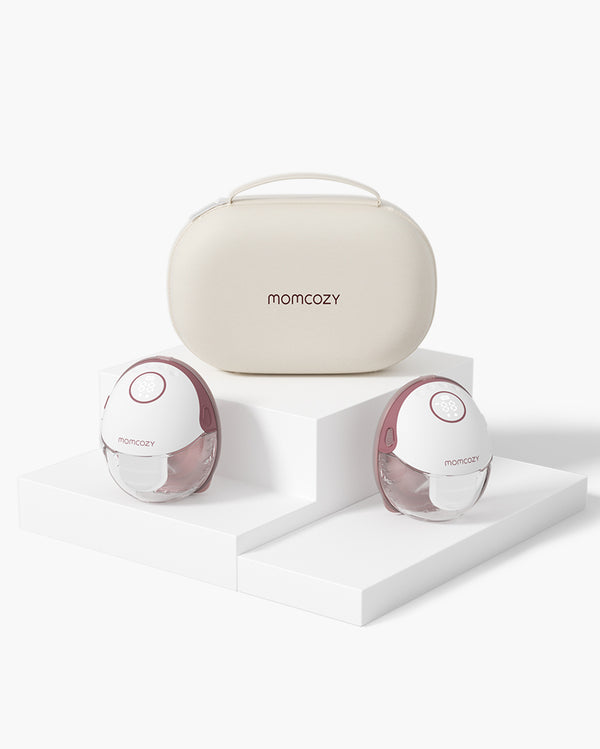
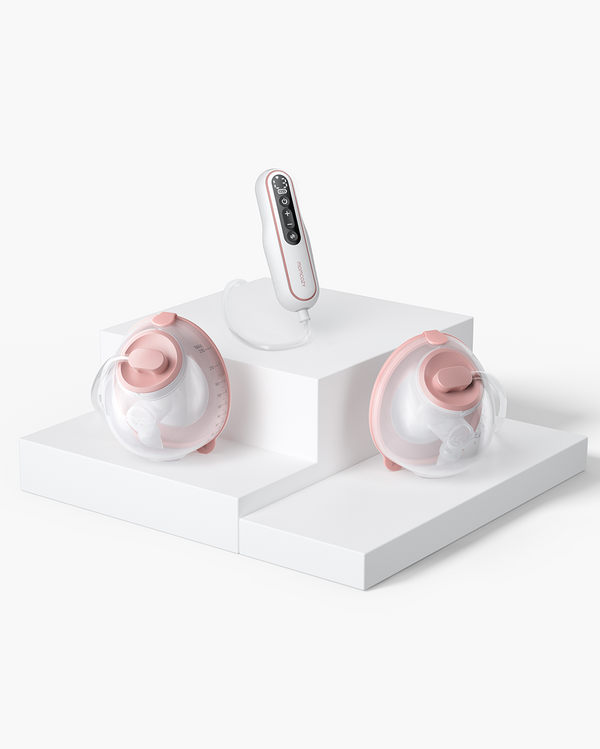
For a pump that’s easy to dismantle and clean thoroughly after each use, the Momcozy M9 Mobile Flow Hands-Free Breast Pump is a good choice — its components are designed for easy washing and sterilization.
How to Wash Breast Pump Parts in a Bottle & Pump Washer
Momcozy KleanPal Pro bottle washer
With the Momcozy KleanPal Pro bottle washer, you can automatically wash and sterilize your breast pump parts, all in one machine, eliminating the need for separate manual cleaning.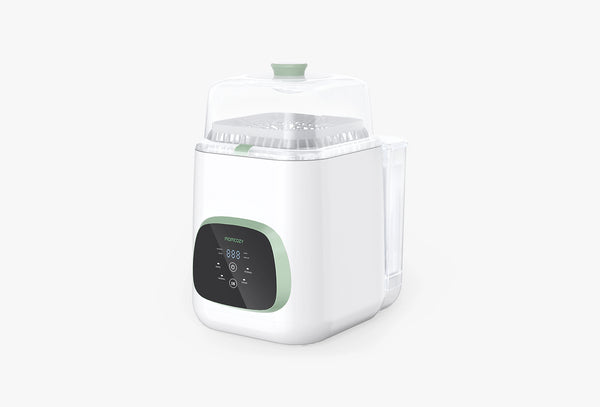 Member price
$299.99Code Save 10%
 Member price
$299.99
 Member price
$319.99
$344.99Code Save 15%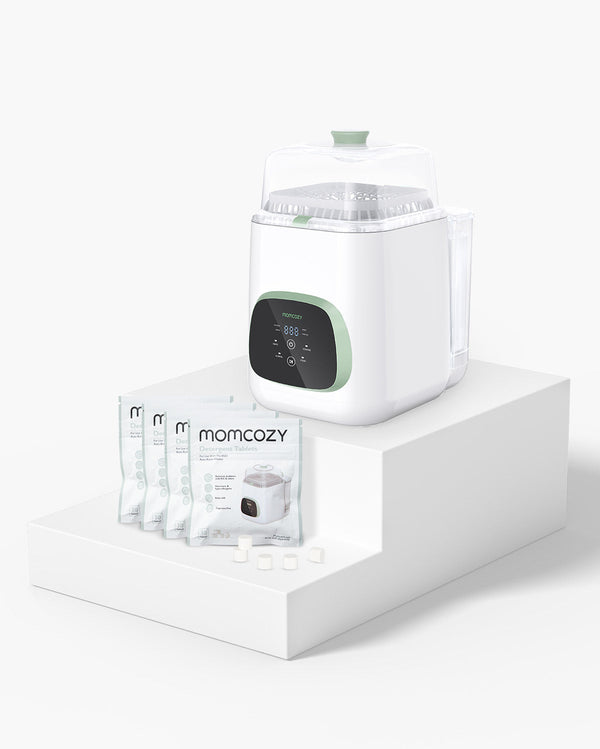 Member price
$304.99
$319.99Code Save 15%
Step 1: Preparation
Before cleaning, pour out any remaining breast milk from the pump parts, then disassemble your pump parts, remove valves, membranes, and any small pieces.

Step 2: Place the Parts into the Machine
Place them inside the washer, removing the holders if you need more space.

Step 3: Add Detergent and Water
Place one detergent tablet into the machine. Fill the water tank with the appropriate amount of water, making sure it stays above the minimum line.

Step 4: Choose the Cleaning Mode
Press the "ON/OFF" button. Select the appropriate mode from the 9 available cleaning modes, such as the 19-minute Rapid Wash or 29-minute Normal Wash, totally depending on your time and needs. You can also press "STEAM" to adjust the steam or "STORAGE" for up to 72 hours of fresh air storage.

Step 5: Wait for Cooling
After the drying cycle is complete, wait for 10 minutes before you remove the items. This allows them to cool down and ensures your safety. And place the pump parts inside the washer, ensuring each part is securely positioned on the spray sticks for optimal cleaning.
To make each use safer and more reassuring, we have enlarged the safety label near the drain hose and made it easier to see. Hot water may remain inside the unit after a cycle. Please place the drain hose below the outlet to prevent residual water, avoid direct contact with any discharged water, and keep children away from the area. Before handling, cleaning, or storing the product, always allow the unit and any remaining water to cool.
Momcozy D8 Bottle Washer
If you're looking for a more convenient way to clean breast pump parts, the Momcozy D8 can help simplify the process. Once you've disassembled the parts, the machine handles the cleaning cycle for you, reducing the amount of manual scrubbing required. Member price
$359.99Code Save $30
 Member price
$374.99
$404.99Code Save 10% Member price
$364.99
$379.99Code Save 10% Member price
$384.99
$414.99Code Save 10%
Step 1: Disassemble the Pump Parts
Separate all parts that come into contact with breast milk, including flanges, valves, membranes, connectors, and collection bottles. Discard any leftover milk before cleaning.

Step 2: Load the Parts into the D8
Place the pump parts inside the machine. For proper arrangement and placement, follow the official Momcozy D8 tutorial.

Step 3: Add Water and Detergent
Fill the water tank and add detergent according to the machine’s instructions.

Step 4: Select a Cleaning Program
Choose the appropriate cycle based on your needs, then start the machine. The D8 will handle the washing process automatically.

Step 5: Allow the Cycle to Finish
Allow the full cycle to complete before opening the machine. If drying is included in the selected program, let it finish fully.

Step 6: Remove and Store the Parts
Once clean and dry, carefully remove the parts and store them in a clean, dry place until next use.

Tip: Always check your breast pump manufacturer's instructions to confirm which parts are washer-safe before cleaning.
Momcozy DeepClean Lite Baby Bottle Washer
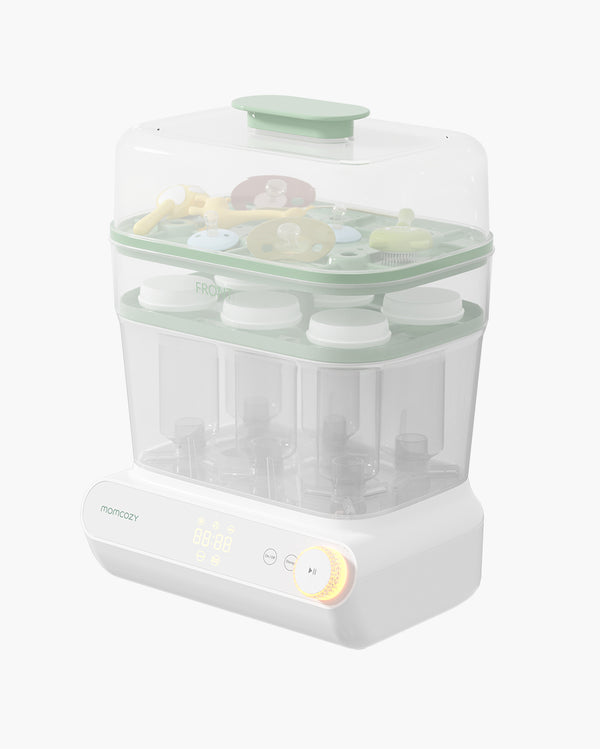
If you want a compact option, the Momcozy DeepClean Lite Baby Bottle Washer and Sterilizer washes, steams, dries, and stores your pump parts in one cycle. It is only 9 inches wide, so it fits easily on a small counter.

Step 1: Disassemble the Pump Parts
Separate all parts that come into contact with breast milk, including flanges, valves, membranes, connectors, and collection cups. Pour out any leftover milk. You don’t need to hand wash them first.

Step 2: Prepare the Washer
Place the washer on a flat, steady spot near your sink and put the drain hose in the sink. Fill the water tank with clean, room-temperature water up to the MAX line. If your tap water is hard, purified or distilled water helps prevent mineral spots.

Step 3: Load the Pump Parts
Press the release tab and take out the bottle racks and nipple racks to make more room. Install the Pump360 rotary jets, then place the collection cups over them. Line up the flanges with the spray jets and put smaller parts on the upper rack.

Step 4: Add a Cleaning Tablet and Close the Lid
Place one Momcozy cleaning tablet under the upper rack. Skip dish soap, dishwasher powder, and other detergents, since they can cause too much foam. Close the lid fully, or the washer will pause.

Step 5: Select a Cycle and Start
Press and hold the power button, then choose Rapid Wash (19 minutes) or Normal Wash (29 minutes). Add steam, drying, or storage if you need them, then press Start. Extra modes add to the total time.

Step 6: Let the Cycle Finish and Remove the Parts
When the cycle ends, wait about 10 minutes before opening the washer. Take out the parts and store them in a clean, dry place. If you chose the storage mode, clean items can stay inside for up to 72 hours.

Tip: Wash only heat-resistant parts, and never put a pump motor or anything with electronics in the washer. Always check your breast pump manufacturer’s instructions to confirm which parts are washer-safe.
Do I Need to Clean the Breast Pump Tubing?
You may have noticed that we didn't include the breast pump tubing in the parts that should be washed. Well, to wash or not to wash; it depends
Breast pump tubing is an essential component in many electric breast pumps. Its main function is to connect the pump motor to the breast shields, creating a vacuum that allows milk to be expressed from the breast. The tubing itself doesn’t usually come into direct contact with breast milk, that's why in most cases, you don't have to take the needless trouble to clean the breast pump tubing.
However, there are situations where cleaning or replacing the tubing becomes necessary:
- If Milk or Condensation Enters the Tubing. Tubing can sometimes get milk or moisture inside, particularly if the pump is used incorrectly or malfunctions. If this happens, it is important to either clean or replace the tubing immediately. Milk in the tubing can lead to mold growth, which is difficult to clean and unsafe for the baby.
- Visible Mold or Mildew. If you notice mold inside the tubing, it should be discarded and replaced, as cleaning may not fully eliminate mold.
- Routine Inspection. While you may not need to clean the tubing regularly, it's important to inspect it often for moisture, mold, or damage.
For day-to-day use, wiping the exterior of the tubing with a damp cloth or disinfectant wipe can help keep it clean from dust or dirt. If the tubing becomes discolored, develops cracks, or contains mold, it’s safer to replace it with new tubing. Properly fitting and functioning tubing is critical for the pump to work effectively.
Do I Have to Wash Breast Pump Parts After Each Use?

Yes- parts of a breast pump that come in contact with breast milk must be washed after every use. Breast milk is a source of nutrients, thereby allowing anything left on the flanges, valves, or bottles to grow bacteria or even molds in a matter of a few hours. Leftover milk can be a health hazard to your baby, even in small quantities.
Suppose you are pumping on a regular basis. Used pump parts may be put in a clean, tightly covered container or bag and refrigerated up to four hours before washing after pumping. It is, however, convenient to ensure parts are thoroughly washed and sterilized at least once every 24 hours.
If You Can’t Clean Your Breast Pump After Use, Take Other Precautions
Washing after every session is the best way to protect your baby, but some days it isn’t possible, like when you’re pumping at work or on the go. In those cases, a few steps can help limit bacterial growth until you can properly wash breast pump parts.
Rinse and Refrigerate the Parts
Rinse the parts that touch milk under cool running water, then put them in a clean, covered container or sealed bag in the refrigerator. The CDC says this can help slow bacterial growth for a few hours between sessions, but it is a backup, not a replacement for washing.
Keep a Spare Set of Pump Parts
Swap in a clean set for each session, and store the used set in a sealed bag until you can wash it.
Use Wipes Made for Pump Parts
If your pump’s manufacturer sells wipes made for pump parts, you can use them for a quick cleanup when there’s no sink, but they don’t replace washing with soap and water.
Wash Them as Soon as You Can
As soon as you get the chance, take everything apart and wash it by hand or in a washer. If your baby is very young, was born prematurely, or has a weakened immune system, ask your pediatrician which precautions are right for your situation.
Common Hand-Washing Mistakes to Avoid
Even with the best intentions, many parents unconsciously fall into habits that compromise hygiene. Recognizing these common “pain points” is the first step toward a safer routine for your baby.
One of the most frequent mistakes is the “quick rinse” habit, which means using only hot water and skipping the soap. Unfortunately, the water is not enough to dissolve the fats and proteins present in breast milk, leaving a transparent film behind which traps bacteria.
Another common pitfall is the “sink contamination trap,” where pump parts are washed in the general kitchen sink alongside household dishes. Foodborne germs such as Salmonella frequently develop in sinks and are easily passed to your baby’s equipment. Moreover, most parents use common kitchen towels in order to save time during drying. These towels are prone to dampness and germs, which negate the entire process of careful washing.
Delaying the cleaning process allows bacteria to grow exponentially in milk residue left on the counter. By switching to a dedicated washbasin, using dish soap every time, and strictly air-drying, you can bridge the gap between a busy schedule and a truly safe environment.
FAQs
Can I Use Dawn to Wash Breast Pump Parts?
Yes, Dawn or any mild liquid dish soap works for hand washing. Use a few drops in a dedicated basin of warm water, scrub with a clean brush, and rinse well so no soap residue is left. Check your pump’s manual too, since some manufacturers have their own soap recommendations.
What Is the Difference Between Cleaning and Sanitizing Breast Pump Parts?
Cleaning removes milk residue and dirt using warm water and soap. Sanitizing is an extra step that further reduces germs, using steam, boiling water, a dishwasher’s sanitize setting, or a countertop sanitizer. Always clean first, since sanitizing works best on parts that are already washed. The CDC recommends sanitizing at least once a day, especially for babies younger than 3 months, born prematurely, or with a weakened immune system. If you’re unsure what’s right for your baby, ask your pediatrician.
Can I Use Wet Wipes to Clean My Breast Pump Between Pumping Sessions?
Regular baby wipes are not meant for pump parts and shouldn’t replace washing. If you have no access to a sink, wipes made specifically for breast pump parts by the manufacturer are the better choice for a quick cleanup. Even then, wash your pump parts with soap and water as soon as you can.
How to Quickly Clean Breast Pump Parts?
In case you do not have much time, you can begin by rinsing out pump parts immediately after every session to stop the drying up and sticking of milk. Put them through a baby-safe washer or a fast wash that washes, sterilizes and dries in a single cycle or, typically, less than 90 minutes. Otherwise, a fast hand wash with warm, soapy water, and air drying on a clean rack will do, too.
Can You Get Mastitis from Dirty Pump Parts?
Yes. Without cleaning the parts of the breast pump, bacteria may increase and contaminate the expressed milk. This bacterium can multiply when taken to the mouth or exposed on the cracked nipples, thereby increasing the chances of your being infected, including mastitis. Regular cleaning, sterilizing reduce this risk.
Can You Refrigerate Pump Parts Between Sessions?
Yes, this is often called the “fridge hack.” Once the pumping is done, you can put used pump parts in a clean, covered container or bag and store them in the fridge up to 4 hours before washing. It is convenient but also necessary to wash and sterilize parts at least once every 24 hours.
Conclusion

Caring about the sanitation of the breast pump parts is crucial to the safety of your baby and the assurance of your own. Washing, disinfecting, and drying each part properly will help to eliminate the harmful bacteria accumulation and make each feeding safe. It does not matter if you prefer a meticulous daily clean, a quick wipe-down between uses, or minimalistic sterilization; consistency is what makes pumping stress-free and hygienic.