MEDICALLY REVIEWED BY

Mary Bicknell, MSN, BSN, RNC, ANLC
Mary Bicknell possède plus de 30 ans d'expérience en tant qu'infirmière autorisée (IA) en unité de soins intensifs néonataux (USIN). L’éducation des mères sur l’importance d’un allaitement sain lui tient particulièrement à cœur. Maintenir un allaitement réussi peut s'avérer complexe lors de situations difficiles ou de longues hospitalisations. Mary s'engage à aider les familles à définir ce que représente pour elles un allaitement réussi et à les accompagner pour atteindre leurs objectifs. Après avoir quitté les soins au chevet des patients, Mary est devenue infirmière leader, veillant à ce que l'éducation et le soutien à l'allaitement soient toujours accessibles aux familles de son unité. Remarque : le texte original (en anglais) a été révisé par des experts ; le présent texte est une traduction en français de cette version.
No: a sterilizer dryer does not replace washing, and a “99.9% dry” statement is not proof that baby bottles or pump parts are sanitary. The practical sequence is to clean feeding equipment first, sanitize when appropriate, let items dry fully, then handle and store them carefully.
A small amount of remaining water is not automatic evidence that freshly sanitized equipment is unsafe. But visible droplets, trapped water, or condensation deserve attention before parts are assembled or sealed away. The key question is not whether a label leaves “0.1%” of something behind; it is whether water remains in places where it cannot drain or finish drying.
Clean First, Then Sanitize When Appropriate
Bottle parts, nipples, rings, caps, valves, and breast-pump parts need cleaning after use. A sterilizing or sanitizing cycle is an added germ-reduction step; it does not remove milk residue or replace proper washing.

A reliable routine looks like this:
- Clean after each feeding or pump session. Take equipment apart as needed so milk residue is not left in small openings, threads, valves, or rings. See the infant-feeding care guidance for additional guidance on disassembly and cleaning.
- Sanitize when it is appropriate for your baby and situation.
- Dry the parts completely.
- Handle and store them in a protected way.
For babies under 2 months old, babies born premature, or babies with weakened immune systems, daily sanitizing is an important extra safety step. For a healthy, full-term baby older than the first couple of months, careful cleaning after each use may be sufficient for routine home use. These are different decisions from whether a dryer cycle leaves an occasional droplet.
As Momcozy’s infant-feeding care guidance explains, cleaned parts should be allowed to air-dry completely rather than being rubbed dry with a kitchen towel. That principle still matters when an appliance does most of the drying: avoid adding unnecessary handling while parts are still wet.
What “99.9% Dry” Can—and Cannot—Tell You
“99.9% dry” sounds exact, but it is not useful as a hygiene verdict unless the manufacturer explains the measurement and test conditions.
The available information does not define whether such a claim refers to:
- Remaining water by weight
- Visible water on exterior surfaces
- Moisture in the air inside the appliance
- A specific bottle-and-accessory load
- A particular cycle, starting wetness, placement method, or room environment
Without those details, a percentage cannot tell you where the remaining moisture is. A bottle may look dry from the outside while a nipple, valve, threaded ring, bottle base, or inward-facing opening retains a droplet.
That is why dryness and sanitation should not be treated as the same claim:
- Cleaning removes milk residue and soil.
- Sanitizing is an additional germ-reduction step.
- Drying removes moisture and helps prepare parts for protected storage.
- A dryness percentage is only a performance statement if its measurement method is clearly documented.
The practical standard is visual and functional, not an assumed percent of residual water present. After a cycle, inspect parts for water that is pooled, trapped, or likely to stay enclosed after assembly.
A few traces of moisture do not automatically undo prior cleaning or sanitizing. Still, do not cap, stack, or enclose visibly wet parts just because an appliance display or advertisement suggests the load is “dry enough.”
Runtime is Model-Specific, Not a Universal Number
There is no single normal runtime for sterilizing, drying, or combined sterilizer-dryer cycles. Cycle length depends on the appliance, selected mode, load arrangement, and conditions. Pre-washing, cooling, unloading, and any extra drying time also affect how long the whole routine takes.

For that reason, use the documented cycle for your specific appliance instead of relying on generic online runtime expectations. A drying cycle that works well for bottles with wide bodies may produce a different result with narrow nipples, valves, or parts that can hold water.
When parts are still damp after the cycle, work through the issue in order.
Check the Load Before Blaming the Dryer
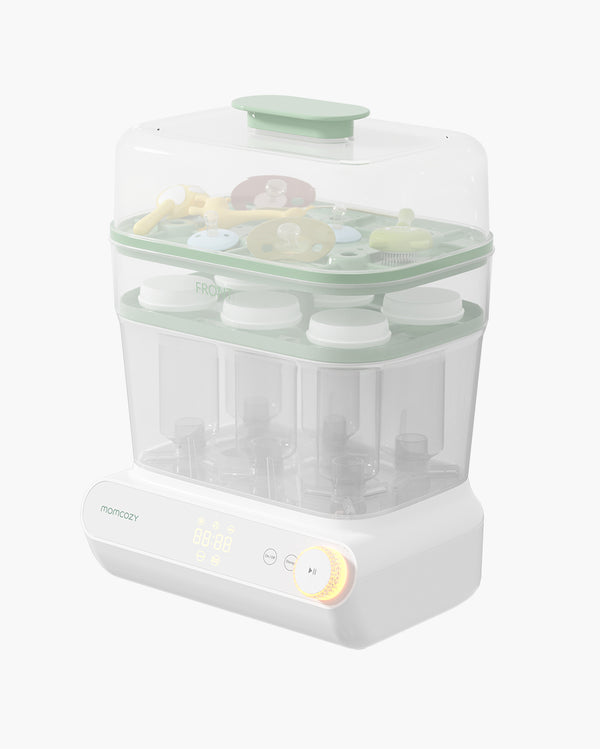
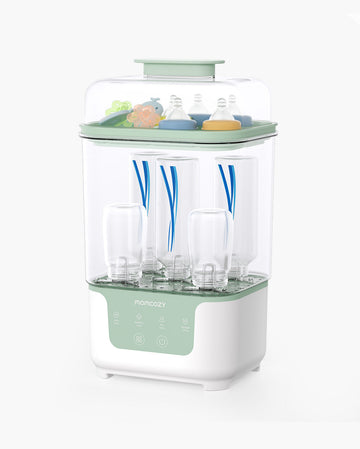
Water needs a path to drain. Make sure open ends are oriented as your appliance instructions specify, and avoid stacking pieces in a way that creates pockets where water can collect.
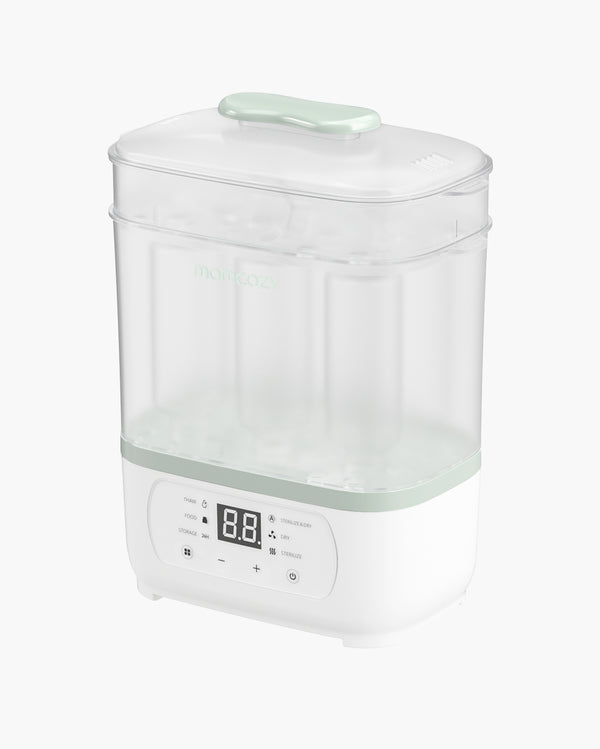
For the Momcozy BS01/BS03 support guidance, open ends should face downward and items should not be stacked, incorrect placement can trap water and prevent thorough drying. Humid conditions may also require more drying time.
Confirm the Selected Mode and Allow More Drying If Approved
Do not assume a combined cycle includes the drying duration you need for every load. Check that the appropriate mode was selected and follow your appliance’s instructions for extra drying.
For the referenced Momcozy unit, the drying troubleshooting guidance advises extending drying by about 15 minutes and then assessing the result. That is a troubleshooting step for that model guidance—not a universal cycle-time recommendation or a guarantee that every item will be fully dry.
Investigate Persistent Moisture
If moisture remains after correct loading and an approved extra-drying step, consult the appliance manual or support instructions. Persistent drying problems may call for checking the appliance’s airflow path or other model-specific troubleshooting steps.
Do not keep rerunning cycles indefinitely without checking the instructions. A recurring result may be about load placement, environmental humidity, a part’s shape, or an appliance issue rather than simply a need for a longer runtime.
Drying and Storage are Separate Decisions
A dryer can make the routine easier, but it does not eliminate the final inspection. Before assembling a bottle or storing pump parts, look for retained water in areas that are easy to miss:

- Inside bottle bases or inverted bottle openings
- In nipples and narrow channels
- Around valves and membranes
- In threaded rings, caps, and seams
- Between nested or stacked components
If you find a droplet, let the part continue air-drying on a clean surface rather than wiping it with a kitchen towel. If you use a drying rack for infant-feeding items, keep it dedicated to only those items and clean it regularly.
Always verify compatibility by checking both the component manufacturer’s instructions and the sterilizer-dryer manual before placing a part in the appliance.
Once parts are dry, assemble or store them in a way that keeps them protected. Sanitized equipment should be kept covered until it is needed, but covered storage is not a substitute for drying the parts first.
A Calm Final Check Before the Next Feed
Before you put equipment away, use this short checklist:
- Clean first: Wash bottle and pump components after use.
- Sanitize when needed: Give daily sanitizing particular attention for babies under 2 months old, premature babies, or babies with weakened immune systems.
- Inspect for pooled water: Look beyond the bottle body to nipples, valves, threads, and other recesses.
- Let parts finish drying: Do not assemble or enclose visibly damp equipment.
- Handle thoughtfully: Use clean hands or clean tools when moving dry parts.
- Verify the details: Follow the appliance’s documented cycle, loading directions, and compatibility guidance for every component.
A drying percentage may be a useful product-performance detail when its test method is clear. It is not, by itself, proof that feeding equipment was cleaned, sanitized, or safely stored.